Introduction
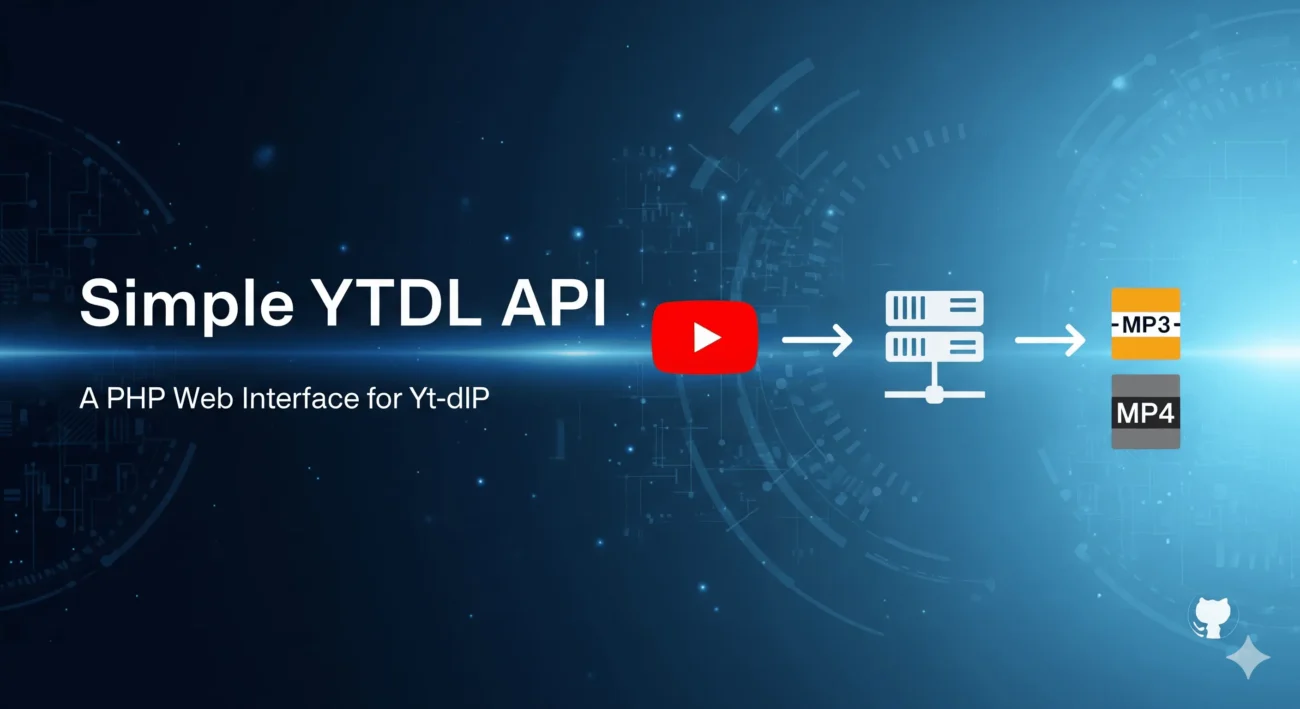
An API Enpoint that serves as an interface for yt-dlp. This project allows users to download video or audio from YouTube quickly and efficiently through a clean, no-refresh user interface.
The application is designed by separating the frontend and backend logic to provide a responsive user experience. The process is divided into two stages: instantly displaying video information, then processing the download in the background.
Main Features
- Modern Interface: Built with pure HTML, CSS, and JavaScript for lightweight and fast performance.
- Asynchronous Experience: The entire process, from fetching info to downloading, runs without page reloads (using the AJAX/Fetch API).
- Fast Response: Users immediately see the video thumbnail and title as confirmation before the heavy download process begins.
- Efficient Backend: Uses PHP as a backend to interact with the
yt-dlpcommand-line tool. - Automatic Cleanup: Equipped with a script to automatically delete old files to save server space.
- Security: Includes basic protection against Cross-Site Scripting (XSS) and forbids direct access to the download directory.
How It Works
The application’s architecture is intentionally designed to maximize responsiveness. Here is the workflow:
- Info Request: When a user enters a YouTube URL and hits the “Process” button, the frontend (
app.js) sends the first request togetInfo.php. - Quick Response:
getInfo.phpquickly callsyt-dlpto fetch only the metadata (title & thumbnail) and sends it back to the frontend as a JSON response. This process typically takes only 1-3 seconds. - Confirmation Display: The frontend receives the data and immediately displays the thumbnail and title. At the same time, a progress bar starts, and a second request is automatically sent.
- Download Processing: The second request is sent to
prepareDownload.php. This endpoint does the heavy lifting: callingyt-dlpto download and convert the video to the selected format (MP3/MP4) and saving it to thedownloader/directory on the server. - Download Trigger: Once the file is successfully saved on the server,
prepareDownload.phpsends back a response containing the download link for the file. - Complete: The frontend receives this link and automatically triggers the download in the user’s browser.
Installation and Usage
Follow these steps to install and run the application on your server.
Step 1: Install Dependencies
Ensure all required software is installed on your server.
A. yt-dlp (Latest Version)
This method ensures you get the most recent version of yt-dlp directly from the developers, which is crucial for compatibility with YouTube.
# Download the yt-dlp executable to a global bin directory
sudo curl -L https://github.com/yt-dlp/yt-dlp/releases/latest/download/yt-dlp -o /usr/local/bin/yt-dlp
# Grant execution permissions
sudo chmod a+rx /usr/local/bin/yt-dlpB. FFmpeg
FFmpeg is required for conversion processes, especially for the MP3 format.
For Debian / Ubuntu (apt):
sudo apt update
sudo apt install ffmpeg -y
For Fedora / CentOS Stream / RHEL (dnf):
sudo dnf install ffmpeg -y(Note: You may need to enable the RPM Fusion repository first if FFmpeg is not found.)
Step 2: Clone the Repository
git clone https://github.com/ryanachmad12/simple-api-ytdl.git
cd simple-api-ytdl
Step 3: Configure Paths
Open the getInfo.php and prepareDownload.php files. Ensure the YT_DLP_PATH constant matches the installation path of yt-dlp on your server (it should be correct if you followed Step 1).
define('YT_DLP_PATH', '/usr/local/bin/yt-dlp');Step 4: Set Directory Permissions
Ensure the downloader directory is writable by the web server user (e.g., www-data or apache).
# Change www-data:www-data to match your server's user if necessary
sudo chown -R www-data:www-data downloader
sudo chmod -R 775 downloader
Step 5: Configure .htaccess
For security, create a .htaccess file inside the downloader directory with the following content to prevent directory listing:
Options -IndexesStep 6: Set Up Cron Job (Automatic Cleanup)
To periodically delete old files, set up a cron job to run cleanup.php. Open your crontab with crontab -e and add the following line (runs every hour):
0 * * * * /usr/bin/php /full/path/to/your/project/cleanup.php >> /full/path/to/your/project/cleanup.log 2>&1(Ensure the PHP path and the project path are correct)
Step 7: Access the Application
Point your web server to the project directory and open index.html in your browser.
