Install Mikrotik CHR in Proxmox Without Rescue Iso
This guide explains how to create and configure a MikroTik CHR virtual machine (VM) on Proxmox directly using a raw disk image.
1. Create a VM (Without Disk)
- Create a new VM in Proxmox.

- Set the VM ID and Name as you want.
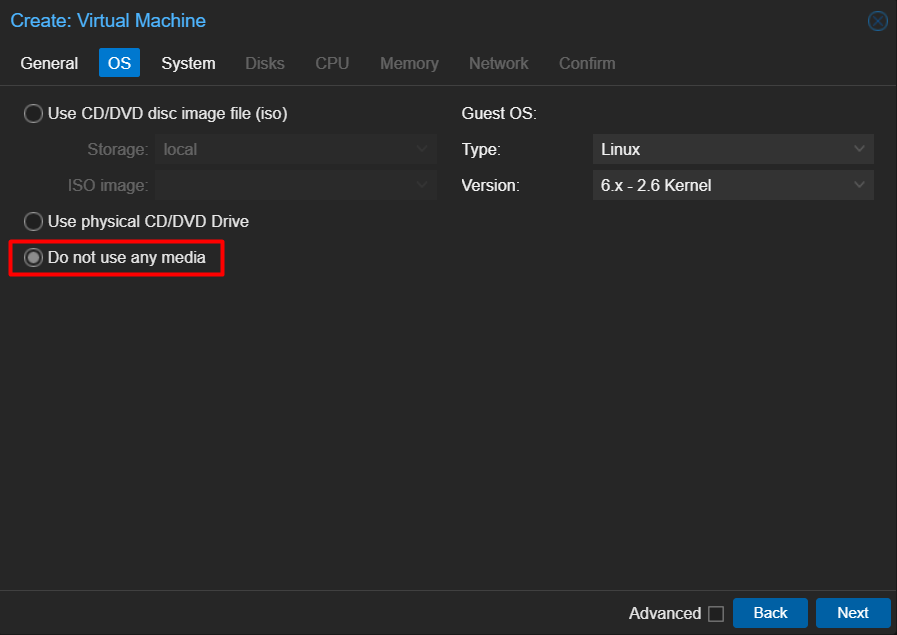
- In the OS section, select Do not use any media.
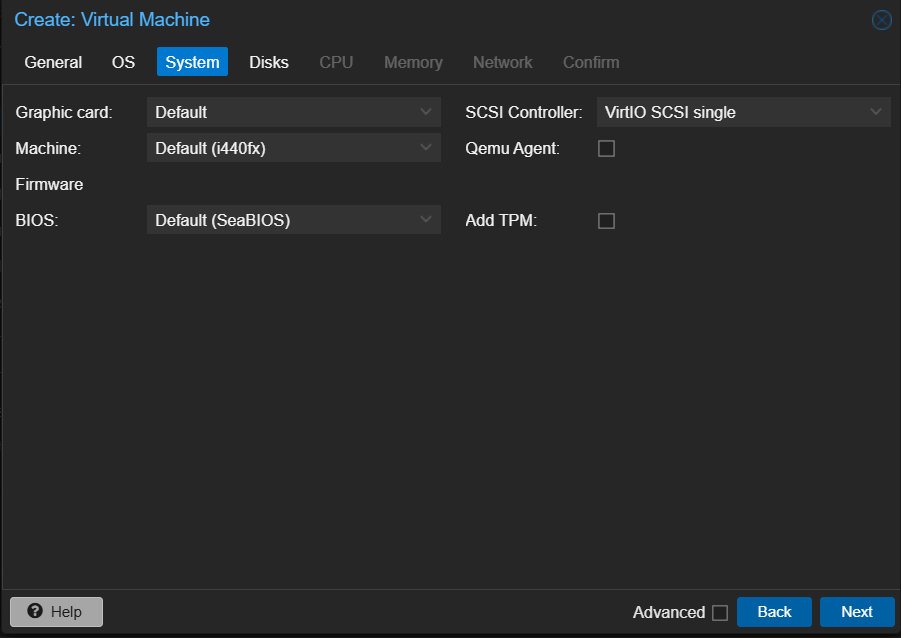
- In the System section, configure as needed.
- Go to the Disk section, click the trash icon to remove the disk.
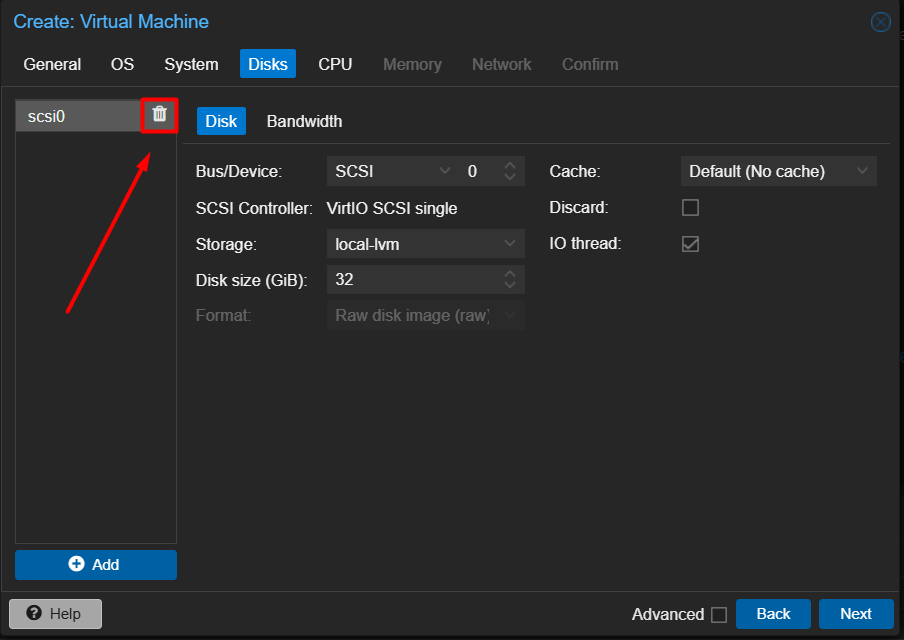
- The configuration should look like this:
- No disk attached.

- No disk attached.
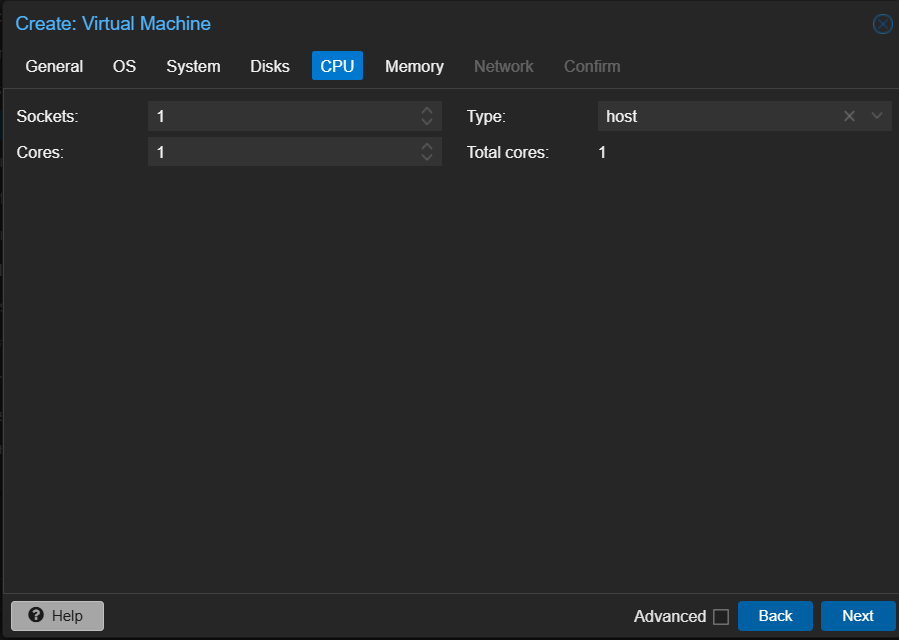
- Set the number of CPU cores.
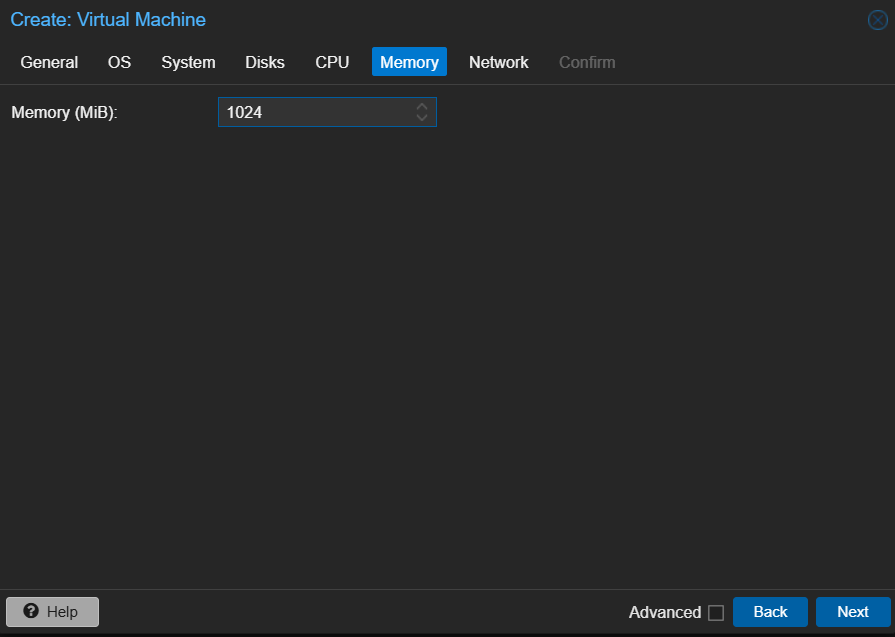
- Set the RAM/Memory size.
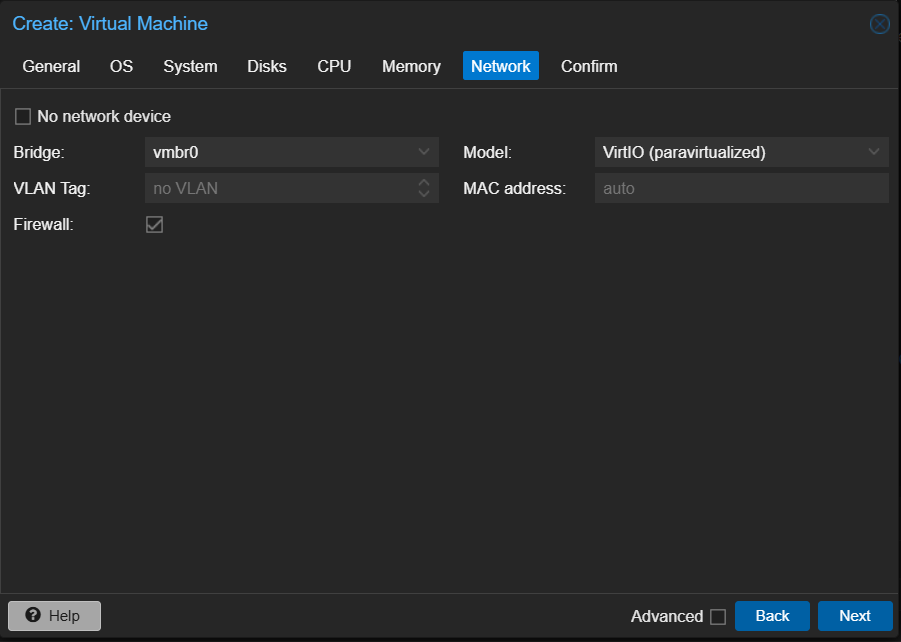
- Configure the network adapter as needed.
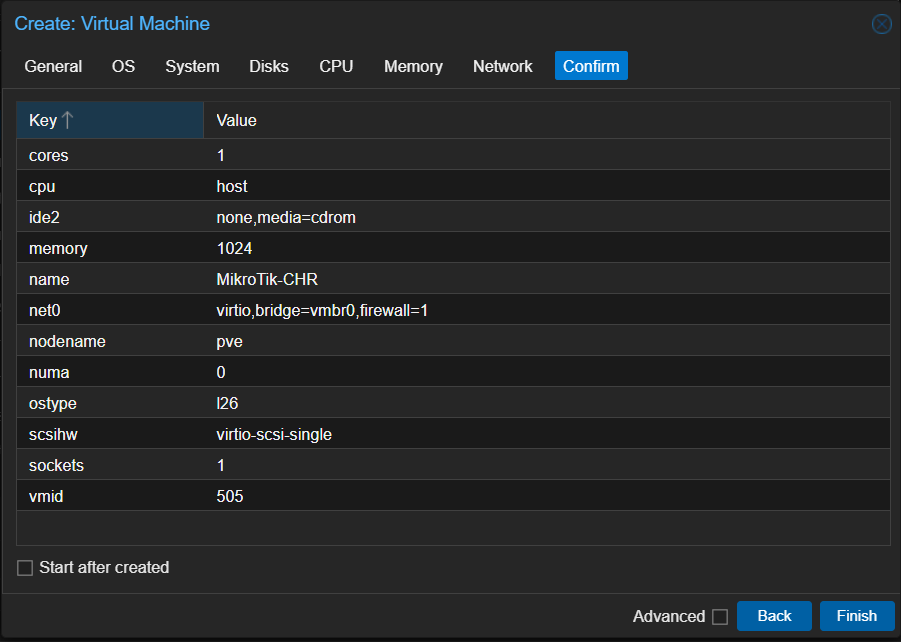
- Review the configuration in the Summary section, then click Finish.
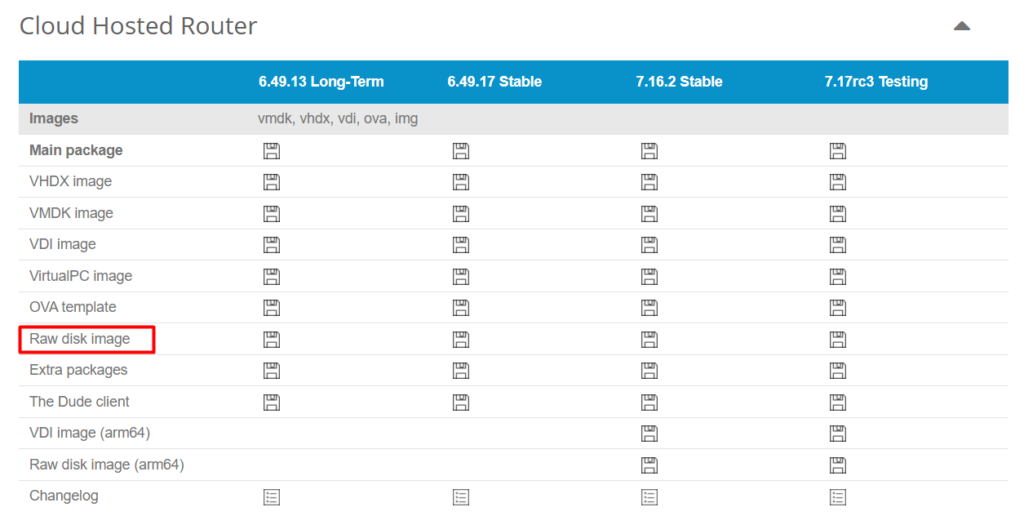
2. Download the CHR Image
Download the image and type is Raw Disk Image
-
Open a shell terminal on your Proxmox node.
-
Navigate to the storage directory where you want to save the image:
cd /var/lib/vz/images -
Download the MikroTik CHR raw disk image using
wget:wget <link-to-chr-image> -
Install the necessary tools for extracting the downloaded image:
apt install zip unzip -
Extract the downloaded ZIP file:
unzip chr-x.x.x.img.zip
3. Convert the CHR Image to QCOW2 Format
-
Convert the extracted raw image to QCOW2 format for Proxmox compatibility:
qemu-img convert -f raw -O qcow2 chr-x.x.x.img chr-x.x.x.qcow2 -
(Optional) Remove the original raw image and ZIP file to save space:
rm chr-x.x.x.img chr-x.x.x.img.zip
4. Resize the Disk (Optional)
If you want to resize the disk before attaching it to the VM, use the following command:
qemu-img resize chr-x.x.x.qcow2 1G
5. Import the Disk to Proxmox
-
Use the
qm importdiskcommand to import the QCOW2 disk to the VM you created earlier:qm importdisk <vm-id> chr-x.x.x.qcow2 <storage-name>- Replace
<vm-id>with the ID of the VM you created. - Replace
<storage-name>with the name of the storage where you want to save the disk (e.g.,local-lvm).
- Replace
6. Attach the Disk to the VM
- Go to the Hardware section of the VM in the Proxmox GUI.
- You will see the imported disk listed as Unused Disk.
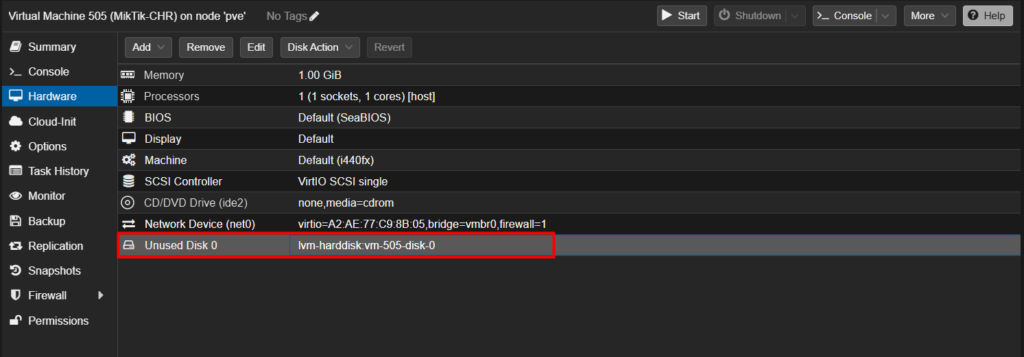
- Click the Unused Disk, then click Edit.
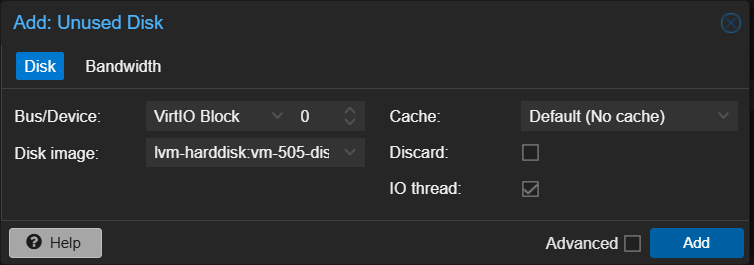
- Adjust the settings as follows:
- Bus/Device: Set to
VirtIO Block (virtio)for optimal performance. - Disk Image: Set to
Disk Image.
- Bus/Device: Set to
- Click Add to attach the disk to the VM.
7. Set the Boot Order
- Go to the Options section of the VM in the Proxmox GUI.
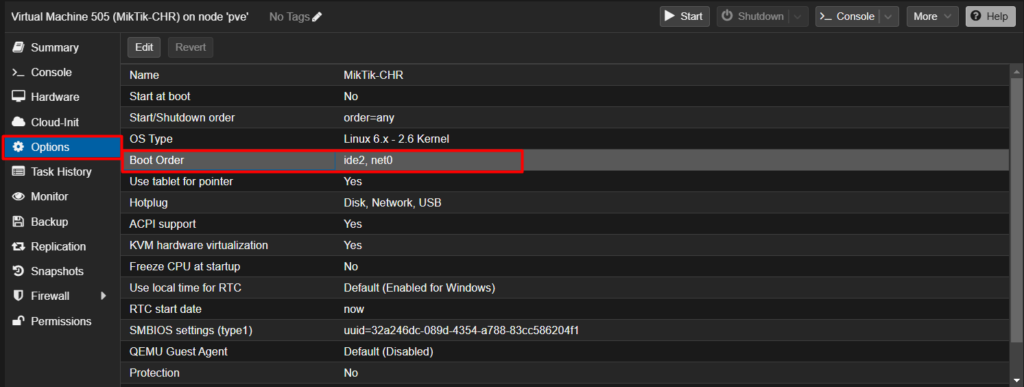
- Select Boot Order, then click Edit.
- Move the attached disk to the top of the boot order list (position 1).
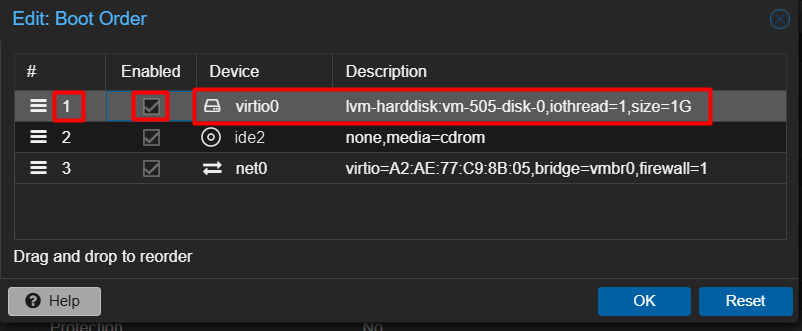
- Check the Enable box to ensure it is active.
- Click OK to save the changes.
8. Start the VM
- Return to the Summary section of the VM.
- Click the Start button to power on the VM.
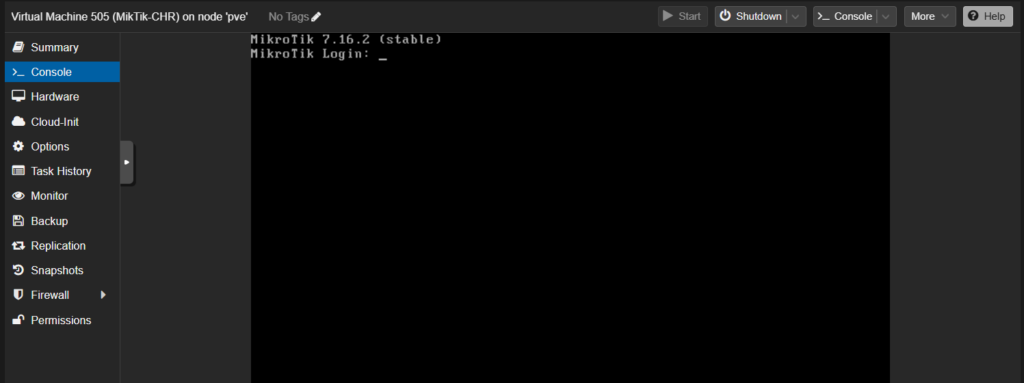
- Go to the Console tab to monitor the VM boot process.
- Once the VM starts, you should see the MikroTik RouterOS system booting.
Congratulations! You have successfully created and configured a MikroTik CHR VM on Proxmox. 🎉
Your CHR VM is now ready to be used for network management and routing tasks.